Polycor U
How to Install a Raised Garden Bed Wall with Garden Wall Stone System
Looking for a raised garden bed that will last? Look no further than Polycor Garden Wall Stone product made out of solid blocks of Indiana Limestone. These natural stone raised garden beds are built to last with a split-face natural stone finish that will add beauty and depth to your outdoor living project.
Course Description
In this video, we demonstrate how to build your own raised garden bed using Polycor Garden Wall products. Because they’re made out of solid Indiana Limestone blocks they can be infinitely adapted, cut to size, chiseled and stacked in various configurations to create super sturdy, long-lasting planting beds.
How To Build A Stone Raised Garden Bed With Limestone Garden Wall
Raised garden beds add immediate charm and functionality to any outdoor space. Whether you’re an avid gardener looking to extend your growing season or a homeowner seeking to enhance your landscape design, a stone raised garden bed delivers both beauty and practicality. Natural stone is the superior material choice for this project, offering durability that withstands the elements, organic texture that complements your plantings, and a chemical-free composition that’s ideal for growing food. These outdoor stone planters work equally well for creating a dedicated flower bed with stones or building functional rock raised garden beds for vegetables and herbs.
The Benefits of Stone Raised Garden Beds
Unlike wooden beds that rot or composite materials that fade, natural stone raised garden beds actually improve with age. As Indiana Limestone weathers, it develops a beautiful patina that enhances its character while maintaining structural integrity. Stone also provides better insulation for plant roots, moderating soil temperature fluctuations that can stress plants during seasonal transitions.
A stone raised garden bed becomes a year-round focal point in your landscape, providing visual interest even during winter months when plants have died back. The neutral tones of natural limestone complement any garden style, from formal to cottage to contemporary. Whether you’re designing a simple flowerbed with stones or planning multiple garden bed with stones configurations, limestone provides the perfect foundation for any planting scheme.
Limestone is also a good soil conditioner as it is the source for agricultural lime used to amend soil and adds nutrients in the form of calcium carbonate. The limestone retaining blocks used for these outdoor stone planters is cut from solid blocks of stone. Whereas flagstone and wall stone can have irregular surfaces that do not lay flat on top of each other, these limestone garden wall blocks have sawn tops and bottoms so each course of stone aligns perfectly with the one below it which aids in the installation process.
Materials and Tools Needed
For this rectangular raised garden bed project, you’ll need:
- Stone clamp (like the Quick-E-BL 850 from Pave Tool)
- Polycor Garden Wall (Indiana Limestone Full Color Blend) in both 3″ and 6″ heights
- Polycor Indiana Limestone Wall Caps (12″ x 24″)
- ¾” clean stone for base
- ⅜” clean, angular stone for setting bed
- Landscape adhesive
- String and stakes
- Level
- Tape measure
- Shovel and rake
- Plate compactor
- 1″ diameter pipes for screeding
- Straight board for screeding
- Stone splitter or cut-off saw
Step-by-Step Construction Process
Site Preparation
Begin by determining the ideal location for your raised garden bed, considering factors like sunlight exposure, accessibility, and visual impact in your landscape design. Once you’ve selected the perfect spot, measure and lay out the perimeter using string lines and stakes.
For a properly squared rectangle, use the 3-4-5 method to establish perfect 90-degree corners. This ancient technique involves measuring 3 feet along one side from the corner, 4 feet along the perpendicular side, and then confirming that the diagonal between these two points measures exactly 5 feet. Adjust as needed until your corners are perfectly square.

Creating a Solid Foundation
A strong foundation ensures your garden bed will remain level and stable for years to come. Excavate the outlined area to a depth of 7 inches, ensuring the bottom is relatively flat. Fill this excavation with ¾” clean stone in 2-inch lifts, compacting each layer thoroughly before adding the next. Continue until you’ve built up a 6-inch deep compacted base.
Next, lay 1-inch diameter pipes onto this base and check that they’re level in both directions. These pipes will serve as guides for screeding your final setting bed. Fill around the pipes with ⅜” clean, angular stone slightly higher than the pipe tops. Using a straight board, screed this material to create a perfectly level surface, removing the pipes afterward and filling any resulting voids.
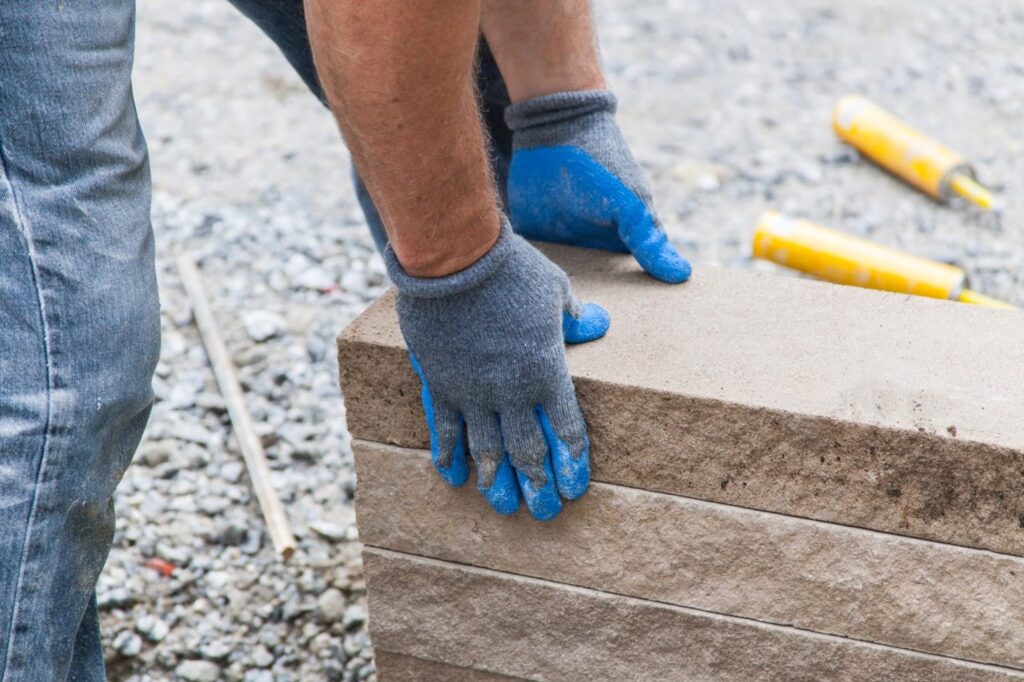
First Course Installation
The first course of stone establishes the footprint and stability for your entire raised bed. Begin by placing two 3-foot pieces of Garden Wall at the short ends of your rectangle. Work inward from both corners, filling the long sides with additional stone pieces. Use a stone splitter or cut-off saw to trim pieces to the proper length as needed to complete the perimeter.
Take time to ensure this first course is perfectly level and aligned with your string line guide. Making adjustments now is much easier than trying to correct problems in later courses.

Building Subsequent Courses
For the second course, begin by overlapping the corner joints on the short ends to create a strong, interlocking bond. This “running bond” pattern, where joints don’t align vertically between courses, significantly strengthens your wall system. Apply landscape adhesive between courses for additional stability.
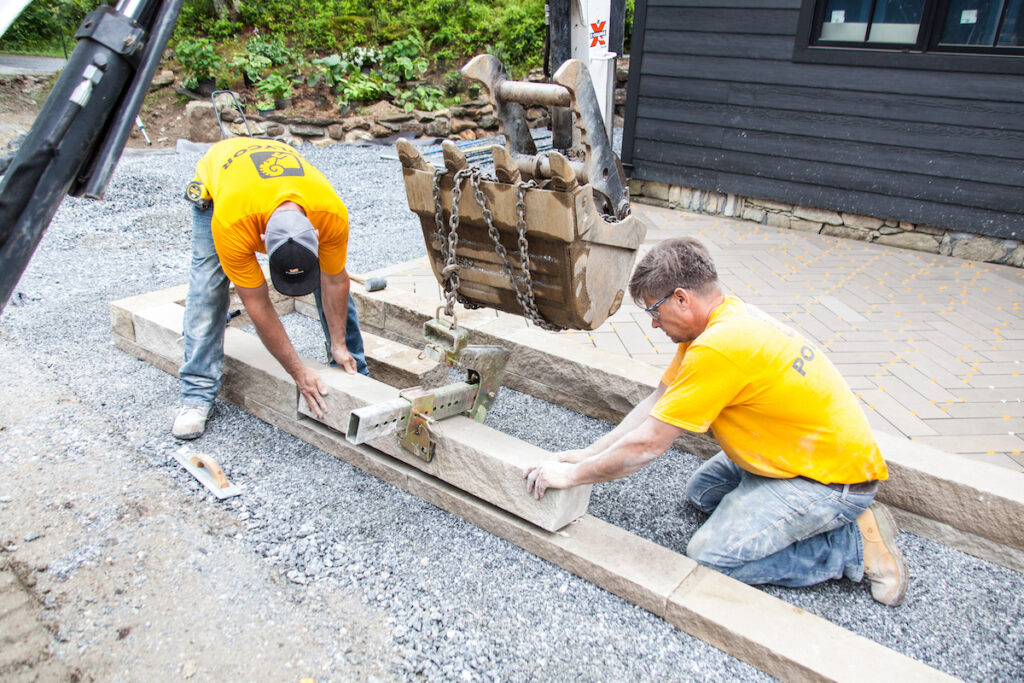
When working with the heavier 6-inch pieces, a stone clamp like the Quick-E-BL 850 from Pave Tool makes placement much easier and safer. Continue working inward from the corners on each course, trimming pieces as needed for a precise fit.
For this project, we alternated between 3-inch and 6-inch height stones with each course, creating visual interest through varied proportions. Continue building courses until you reach your desired height—we built to 21 inches, which provides an ergonomic gardening height while creating substantial visual impact.

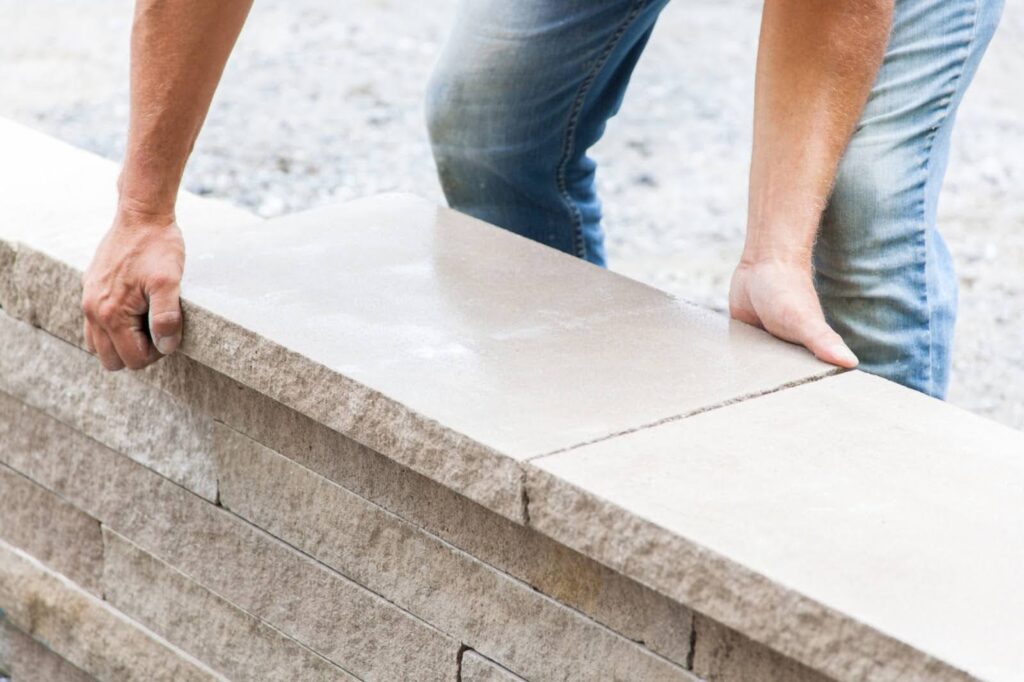
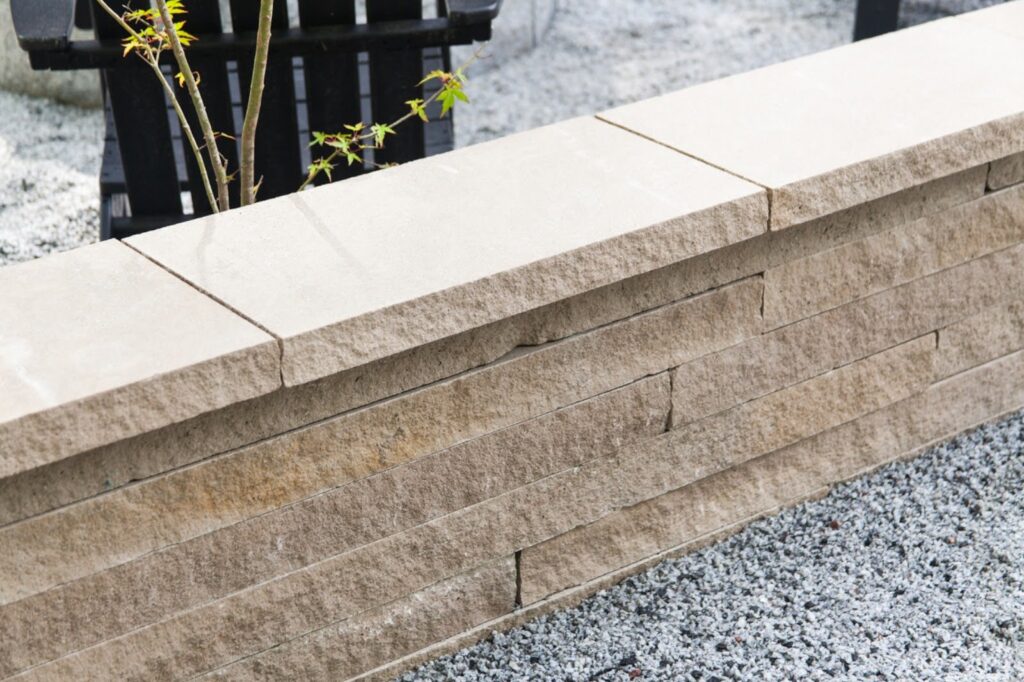
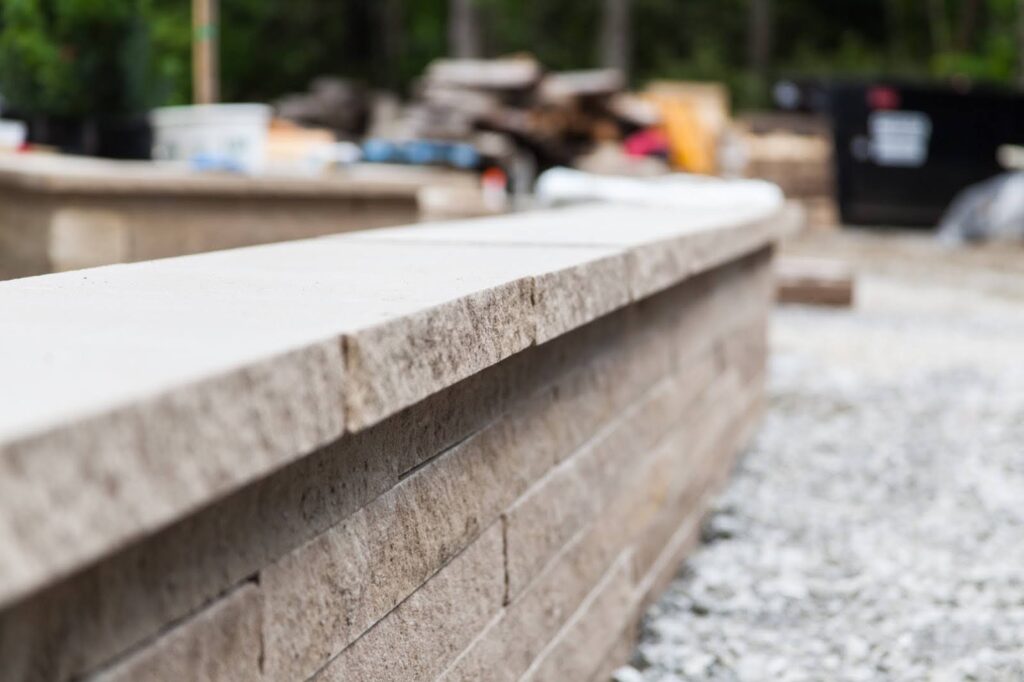
Capping the Wall
The finishing touch is installing Polycor’s Indiana Limestone Wall Cap pieces. These 12″ x 24″ caps create a 2-inch overhang on both the inside and outside edges of the box walls, protecting the wall from moisture while providing an elegant finished appearance.
Before permanently installing the caps, dry-lay them starting from the corners and working inward to determine exact cut locations. Use a string line to check for straightness along each side. Once satisfied with the layout, apply landscape adhesive to the top course of the wall and carefully place each cap piece, ensuring they remain properly aligned.
Planting and Maintenance Tips
Once your raised garden bed is complete, fill it with high-quality soil appropriate for your intended plantings. The depth provided by this stone bed allows for excellent root development, even for deep-rooted vegetables and perennials.
The stone walls of your raised bed will help maintain more consistent soil temperatures, potentially extending your growing season. They also provide excellent drainage while retaining sufficient moisture for healthy plant growth.
Unlike wooden raised beds, your stone garden bed requires virtually no maintenance. The limestone will develop a beautiful natural patina over time, but will not rot, warp, or need replacement. Occasionally, check the cap stones to ensure the adhesive bond remains secure, particularly after extreme weather conditions.
Design Variations and Inspiration
While we’ve demonstrated a rectangular design, Polycor Garden Wall can be configured into various shapes, including L-shapes, U-shapes, or even circular raised beds. Create a cohesive look by incorporating flowerbeds with stone elements throughout your landscape, or build multiple rock raised garden beds at varying heights for a terraced garden effect. Consider creating multiple flowerbeds with stone designs at different heights, each garden bed with stones serving a specific purpose in your overall landscape plan.
For a more formal appearance, use consistent lengths of stone for each course. For a rustic, relaxed look, embrace the random lengths available in the Garden Wall product.
Consider incorporating stone steps or pathways using matching Indiana Limestone pavers to create a cohesive garden design. Complementary planters or bench seating can complete your outdoor living area, creating a harmonious space for both gardening and relaxation.
The Natural Stone Advantage
You’re investing in a sustainable, long-lasting solution by choosing Polycor’s natural stone products for your raised garden bed. Indiana Limestone is quarried in North America using environmentally responsible practices, and its exceptional durability means it won’t need replacement or contribute to landfill waste.
Natural stone doesn’t leach chemicals into your garden soil, making it ideal for growing vegetables, herbs, and other edibles. Its neutral pH won’t affect your soil composition, allowing you to create the perfect growing environment for your chosen plants.
Ready to Build Your Stone Raised Garden Bed?
Transform your outdoor space with the timeless beauty and functionality of a stone raised garden bed. This weekend project delivers immediate visual impact while creating the perfect environment for your gardening endeavors.
Want to explore more natural stone hardscaping projects? Contact a Polycor expert today to discover how natural stone can enhance your landscape design. Polycor’s natural stone products provide endless possibilities for creating your ideal outdoor living space, from patios and walkways to retaining walls and water features.
Ready to get started? Find a local dealer near you to source your Polycor Garden Wall and Wall Cap materials, and create a garden feature that will be enjoyed for generations.


