Polycor U
How to Install Natural Stone Thin Veneer Fireplaces
Unlike artificial stone or cultured stone options, the qualities that make genuine natural stone veneer unique are exactly that – every piece is unique and is the most natural building material available because it is truly made by nature. These veneers can be shaped, cut, and chiseled into any size without any exposed aggregates – nothing but natural stone all the way through.
Course Description
From CMU exterior block to wood framed interior walls, natural thin stone veneers are easily adaptable to any application – both inside and out. In this video, we show how to install thin stone veneers on two different residential fireplaces.
Installing Indiana Limestone Veneer on Interior and Exterior Fireplaces
When it comes to creating stunning focal points in your home, few materials can match the authentic beauty and timeless appeal of natural stone. Indiana Limestone thin veneer offers homeowners, architects and designers the perfect solution for transforming ordinary fireplaces into extraordinary centerpieces that seamlessly blend old-world character with contemporary sophistication.
Natural stone has been the material of choice for discerning homeowners and designers for centuries, and for good reason. Indiana Limestone thin veneer combines the authentic character of genuine stone with the practical advantages of modern installation techniques. Unlike manufactured stone products, Indiana Limestone veneer features inherent color variations and textures that create visual depth and interest impossible to achieve with artificial materials.
The earthy palette of Indiana Limestone naturally complements any design aesthetic, from rustic farmhouse to sleek contemporary styles. Its neutral tones serve as the perfect backdrop for seasonal decorations while providing a sophisticated foundation that never goes out of style. Additionally, natural stone’s thermal properties make it an ideal choice for fireplace applications, as it naturally retains and radiates heat long after the fire has died down.
Understanding Rockford Estate Blend Thin Veneer
For limestone fireplace installations, Rockford Estate Blend thin veneer from Polycor Hardscapes & Masonry’s Estate Veneer Series represents a premium product that showcases the full beauty of Indiana Limestone – Full Color Blend. This lightly tumbled, split-face veneer delivers authentic texture and visual interest that captures the eye and creates inviting gathering spaces.
The specifications for Rockford Estate Blend thin veneer include thickness ranging from ¾ inch to 1¼ inches, heights from 2 inches to 12 inches, and lengths from 8 inches to 18 inches. Prefinished corners are also available for enhanced appearance and easier installation. This size range provides exceptional design flexibility, allowing you to create everything from subtle, uniform patterns to dramatic, mixed-size installations that highlight the stone’s natural beauty
Interior Fireplace Installation: Creating a Dramatic Feature Wall
The interior gas fireplace installation demonstrates how natural stone veneer can transform a simple wall into a stunning floor-to-ceiling feature that becomes the room’s focal point. This type of installation requires careful planning and proper substrate preparation to ensure long-lasting results.
Substrate Preparation
The foundation of any successful stone veneer installation begins with proper substrate preparation. For interior applications over wood framing, the process involves several critical steps. Begin with a wood stud frame constructed to support the additional weight of the stone veneer, ensuring studs are properly spaced and securely fastened. Cover the frame with OSB (Oriented Strand Board) sheathing, which provides a stable base for the subsequent layers. Finally, install cement backer board over the OSB using appropriate cement board screws to create a moisture-resistant layer that prevents substrate damage and ensures proper adhesion.
The cement backer board creates the ideal surface for veneer installation, providing both structural support and moisture resistance that protects your investment over time.

Stone Preparation and Layout
Before beginning installation, proper stone preparation is crucial for achieving professional results. Start by dry laying the veneer flats in similar sizes on a work table, allowing you to assess color variations and plan your pattern. This step helps identify pieces that may need trimming to fit together properly and ensures a balanced color distribution throughout the installation.
Take time to mix and match stones of different sizes and colors during this planning phase. Natural stone variations are part of its charm, but strategic placement creates a harmonious overall appearance that enhances rather than overwhelms the space.
Installation Process
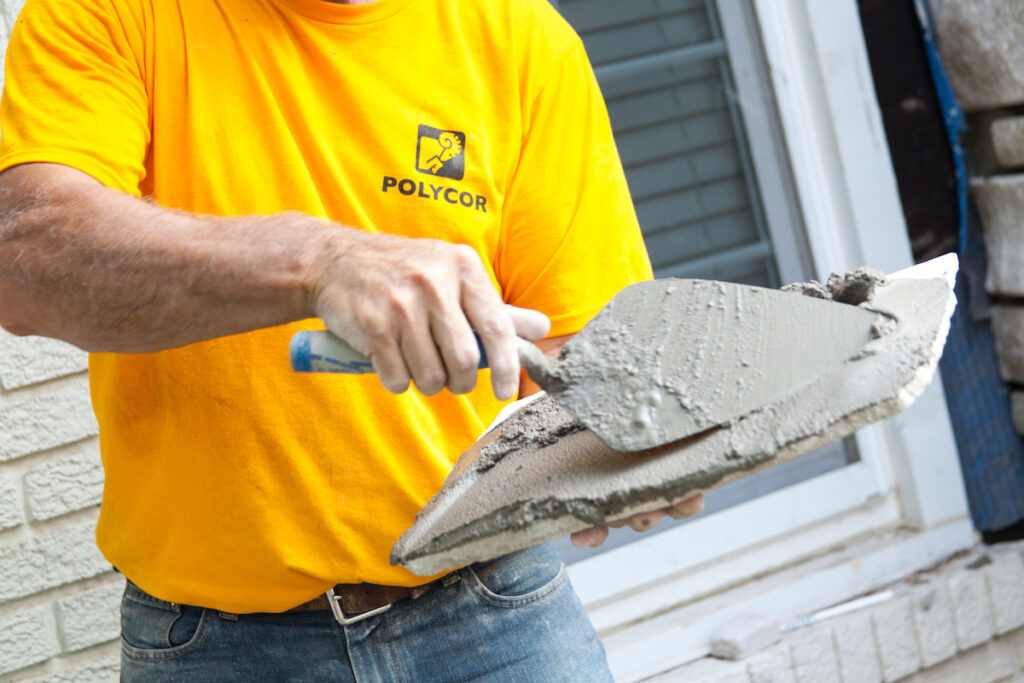
The actual installation process requires patience, precision and attention to detail. Start by using a level to establish horizontal reference lines that will guide your installation and ensure straight, professional-looking courses. Begin installing thin stone corners from the bottom up, using a low alkali and low efflorescence mortar mixed according to manufacturer specifications. This type of mortar prevents unsightly white staining that can occur with inferior products.
Clean the backs of each stone with a brush to remove dust and debris that could interfere with adhesion. Fully encapsulate the back of each stone with a ½ inch to ¾ inch layer of mortar, ensuring complete coverage that eliminates air pockets and voids. Firmly press each stone onto the wall, filling all voids to achieve proper adhesion using a slight twisting motion to ensure complete contact with the substrate. Maintain consistent joint patterns throughout the installation, paying particular attention to horizontal alignment and spacing.
Once the stone installation is complete and the mortar has properly cured, the pointing process begins. For this installation, a white-based Type S mortar and white sand blend provides the ideal pointing material. Mix the mortar to a loose consistency that flows easily through a grout bag, ensuring smooth application without air bubbles or voids. The pointing technique involves lightly dampening the inside of the grout bag, filling it with prepared mortar, cutting the tip to achieve desired flow rate, then twisting the end while squeezing with the opposite hand to direct mortar into joints systematically.
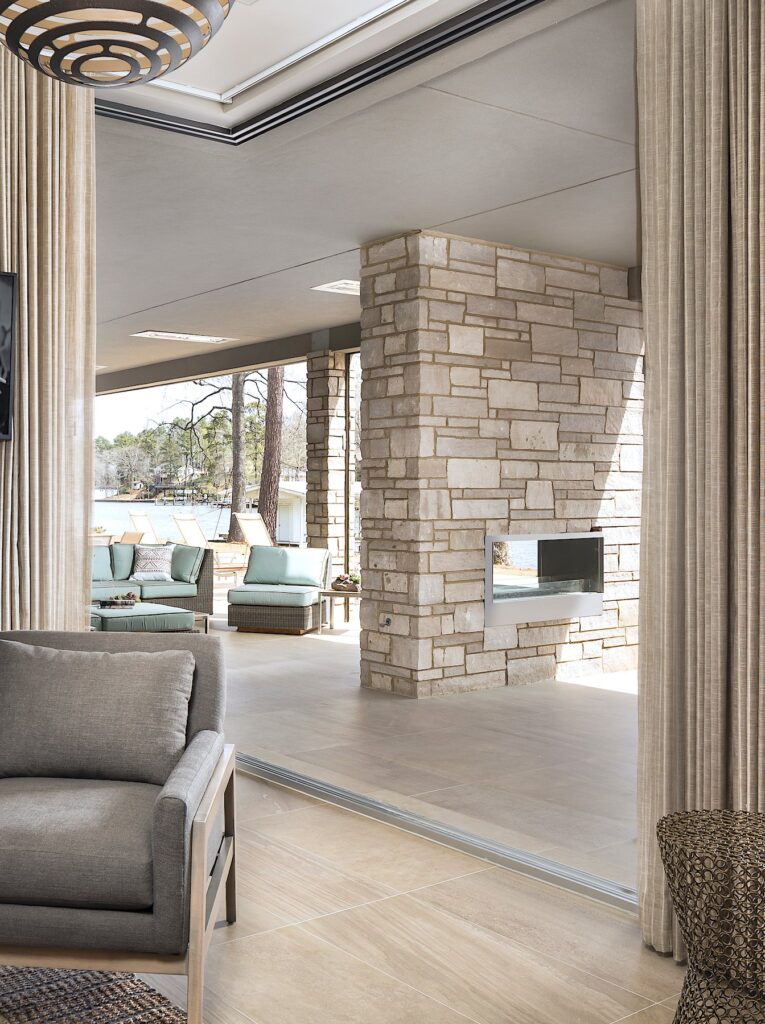
Exterior Fireplace Installation
Exterior installations demonstrate the versatility of Indiana Limestone veneer in outdoor applications. Double-sided, wood-burning fireplaces create impressive centerpieces for outdoor living spaces while showcasing the stone’s natural weather resistance and durability.
Exterior installations typically utilize CMU (Concrete Masonry Unit) block construction, which provides the structural strength necessary for outdoor fireplaces. The key difference in exterior preparation involves building the CMU wall according to structural requirements and local building codes, then applying a cementitious damp-proofing material to the block surface. This step is crucial for preventing moisture infiltration that could compromise the installation over time.
The installation process for exterior applications follows the same fundamental principles as interior work, with some important considerations. Avoid installation during extreme temperatures or wet conditions, and use mortar specifically designed for exterior applications. Ensure proper drainage around the fireplace structure and include appropriate expansion joints for thermal movement. The installation technique remains consistent: work from bottom to top, blend stone patterns and colors naturally, and maintain consistent joint spacing throughout the project.
Professional Installation and Maintenance
While experienced DIY enthusiasts can successfully install Indiana Limestone veneer, professional installation offers expertise in substrate preparation and structural requirements, access to specialized tools and equipment, knowledge of local building codes and warranty coverage for both materials and workmanship.
Indiana Limestone veneer requires minimal maintenance when properly installed. Regular cleaning involves removing dust and debris with soft brushes and cleaning with pH-neutral stone cleaners when necessary. For joint maintenance, inspect joints annually for signs of deterioration and repoint joints as needed to maintain weather resistance. Joint width and profile affect both appearance and performance, so joints should be consistent in width throughout the installation, properly tooled to shed water in exterior applications, and sealed against moisture infiltration.
Conclusion
Installing Indiana Limestone veneer on interior and exterior fireplaces creates stunning focal points that combine natural beauty with practical functionality. The authentic character of genuine stone, combined with modern installation techniques, delivers results that enhance both the aesthetic appeal and value of your home.
Whether you choose the dramatic impact of a floor-to-ceiling interior feature wall or the impressive presence of a double-sided exterior fireplace, Indiana Limestone veneer provides the durability, versatility and timeless elegance that make it the preferred choice of discerning homeowners and design professionals. The installation process, while requiring careful attention to detail and proper technique, achieves professional-quality results that will provide decades of enjoyment.
Surround yourself with the natural beauty that only authentic stone can provide. Estate Veneer Series by Polycor Hardscapes & Masonry offers the perfect combination of traditional craftsmanship and contemporary convenience, creating fireplace installations that serve as lasting testaments to the enduring appeal of natural stone.
Ready to transform your fireplace with the timeless beauty of Indiana Limestone veneer? Contact a Polycor expert today to discuss your project and discover how natural stone can enhance your home’s design and value for generations to come.


