Polycor U
The Ins and Outs Of Stone Fabrication: Tips & Tricks of the Trade
Learn some of the tips and tricks Polycor stone experts use in the plant and in the field to create unique projects.
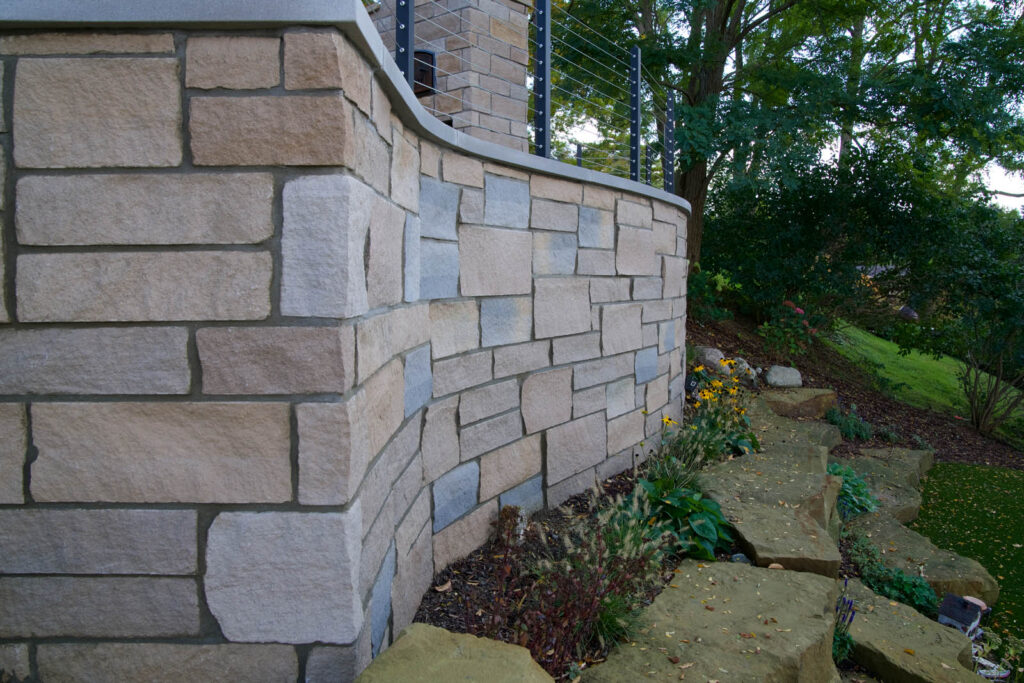
Because natural stone is so versatile there are literally no limits to what can be achieved through skillful fabrication and craftsmanship. The fact that it is solid stone throughout and incredibly dense means that you can shape it however you need to fit your application, and with no exposed aggregates or differing colors between the surface and the interior. That’s why natural stone is so much fun to work with – the only limitation is your imagination. In this course we show you some of the tips and tricks of fabricating natural stone to take your hardscapes & masonry projects to the next level.
Course Description
Do you want to unlock the hidden potential of natural stone and make your hardscaping visions come alive? Then this video is for you! We show you step-by-step how to use some of the tools and techniques used in natural stone fabrication. From cutting special shapes, core drilling, adding drip edges on limestone sills, to rock facing stone with chisels – learn all the tips and tricks to working with this durable, solid material. Discover which blades are best suited for each task and the special techniques needed for creating unique projects like a pro. Take this course now to make sure you don’t miss out on any of these valuable skills that you can add to your toolbox!
Master Natural Stone Fabrication: Advanced Techniques for Professional Hardscaping
Taking your hardscaping skills to the next level requires mastering the specialized techniques used in natural stone fabrication. Whether you’re cutting custom shapes, creating precise drip edges, or adding unique textures through rock facing, these advanced methods separate professional-grade installations from basic stonework. Understanding how to cut granite and other stone types while applying the right fabrication techniques will help you create hardscapes with timeless beauty that endure for decades.
Understanding Your Materials: The Foundation of Quality Fabrication
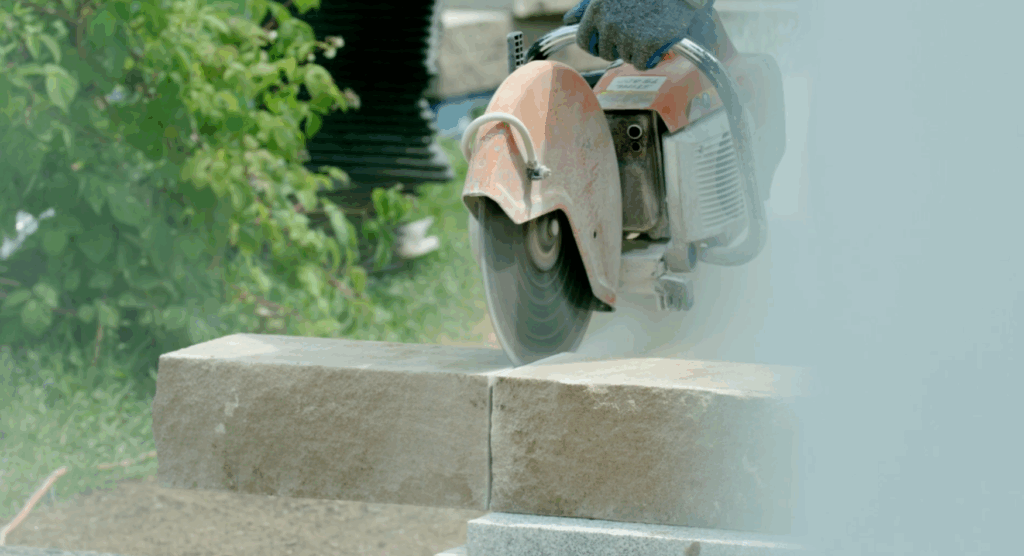
Before picking up any tool, successful stone fabrication begins with understanding your material. Natural stone comes in various types—granite, marble, and limestone—and each handles differently during cutting and shaping. Granite’s incredible density and hardness require different blade speeds and cutting techniques compared to the more forgiving nature of limestone. Marble falls between these extremes, offering beauty that demands respect for its crystalline structure.
Take time to consider how your chosen stone will fabricate and how it fits into your overall design vision. This planning phase prevents costly mistakes and ensures your finished project meets both aesthetic and structural requirements.
Precision Ripping: Achieving Perfect Long Cuts
While chop saws handle most cutting tasks efficiently, certain situations demand greater precision. Natural stone’s density can cause blades to wander during long cuts, especially when fatigue sets in. For projects requiring perfectly straight cuts over extended lengths, guided cutting systems provide the accuracy professional work demands.
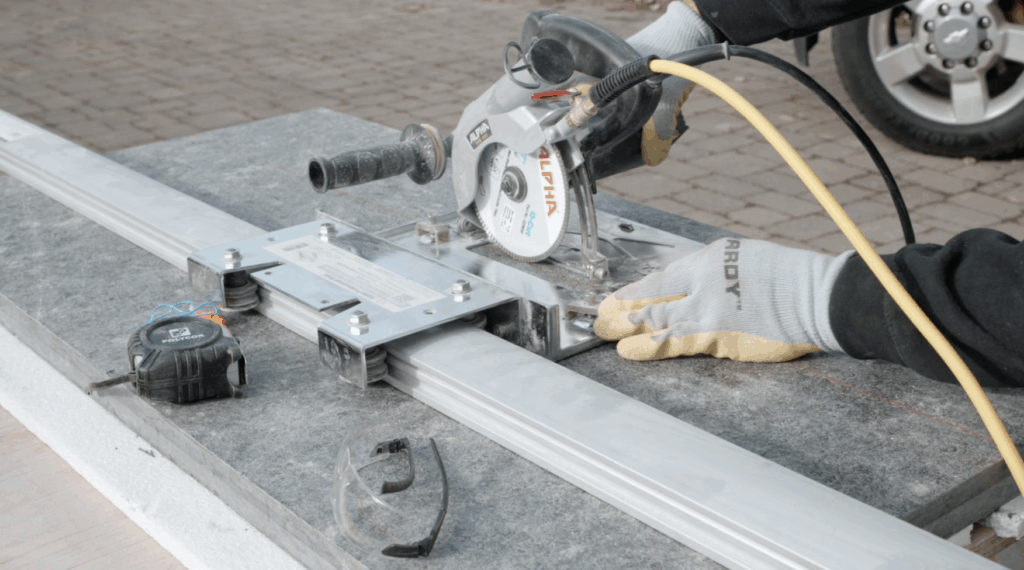
When you need to cut granite with precision, such as ripping an 8-inch strip from a 4-foot piece of Saint Henry Black granite, precision becomes critical. Set up a stable work surface using saw horses and securely clamp an Alpha guide rail to the marked granite. An Alpha ESC-150 wet saw with carriage assembly attaches to this rail using guide wheels, ensuring your cut tracks perfectly straight.
Water cooling proves essential during this process, keeping both blade and stone at optimal temperatures while cutting. Use a premium quality diamond blade specifically rated for your stone type—in this case, an Alpha Plus blade designed for granite’s demanding characteristics.
The cutting technique itself involves multiple passes for the cleanest results. Begin the cut at full depth for the first inch to establish a clean starting edge, then lift the blade to one-third overall depth and score the full length. At the final inch, slowly plunge the blade to full depth again. Return to the starting position, lower the blade another third into the cut, and make a second complete pass. Finally, lower the blade to full depth for the finishing pass. This three-pass method creates the cleanest cut with no chipping and no blade wandering.Taking your hardscaping skills to the next level requires mastering the specialized techniques used in natural stone fabrication. Whether you’re cutting custom shapes, creating precise drip edges, or adding unique textures through rock facing, these advanced methods separate professional-grade installations from basic stonework. Understanding how to cut granite and other stone types while applying the right fabrication techniques will help you create hardscapes with timeless beauty that endure for decades.
Creating Drip Edges: Functional Beauty in Stone Design
Drip edges represent both functional necessity and aesthetic refinement in stone wall design. These carefully cut channels stop water from running around stone surfaces to the underside, preventing water penetration and staining on wall surfaces below. They’re commonly used on sills, wall caps, and treads where water management is critical.
Creating a drip edge on Indiana Limestone requires precise measurement and cutting techniques. Mark your centerline approximately ¾ to 1 inch from the outside edge of the stone. Measure 3/16 inch on either side of this line for an overall drip edge width of ⅜ inch.
Using a wet saw equipped with a premium diamond blade and guide rail, set the blade depth to ⅜ inch. Make three passes along the full length of the stone, moving the guide rail slightly between passes to achieve the full ⅜-inch width. This creates a clean, functional channel that effectively directs water away from your stone installation.
Cutting Perfect 45-Degree Miters
Mitered joints add a distinctive, professional touch to hardscape designs. Instead of simple butt joints, miters create seamless corners that showcase craftsmanship and attention to detail. The technique works particularly well with materials like Saint Henry Black granite pool coping.
Since stone pavers and coping pieces typically exceed the size of standard carpenter squares, you’ll need alternative methods for establishing accurate angles. Begin by placing two pieces square against each other at 90 degrees. Mark the inside edge of the first piece where they meet, then slide the second piece over and mark it. Use a straight edge to connect this line to the outside corner.
You can make the cut freehand using a cut-off saw or angle grinder fitted with a diamond blade rated for your stone type. After completing the cut, flip the cut piece face-to-face with the next piece to mark and compare the cutting line with your original mark. Make adjustments as necessary for perfect alignment. Clean any uneven surfaces using an angle grinder equipped with a diamond cup wheel.
Mastering Radius Cuts
Curved cuts in stone may be necessary for various design elements, from fireplace inserts to walkway transitions. The key to successful radius cutting lies in matching your tool to the curve radius and working methodically through multiple passes.
Tighter radiuses require smaller diameter blades for better control and smoother curves. For inside curves especially, a 7-inch premium wet or dry diamond blade attached to an angle grinder provides optimal results. When cutting firepit inserts, mark your curve carefully before beginning.
Position yourself inside the curve and start with shallow scoring cuts to establish your cutting line. Work gradually around the curve, plunging deeper with each pass. Remember that grinder technique differs from chop saw work—start cuts away from yourself and pull toward your body, opposite to chop saw technique.
If cutting dry, check your blade periodically to prevent overheating and allow cooling time as needed. Never force the blade, as binding can cause dangerous kickback. Repeat shallow passes until reaching full depth for smooth, professional-looking curves.
Core Drilling: Precision Holes for Hardware and Utilities
Whether installing railings, lighting, or running conduit, situations arise requiring clean holes through stone materials. Core drilling provides the most efficient and cleanest method for this task, but proper technique and equipment are essential.
Use diamond-tipped core bits with a central-water-fed grinder for optimal results. The water cooling increases cutting speed while controlling dust and extending bit life. For demonstration purposes, a 2-inch premium diamond core bit from Alpha Stone Tools chucked to a wet grinder provides excellent performance.
When you need to core drill granite or other hard stone materials, mark the centerlines of your intended hole and trace the outside perimeter of the bit for reference. Connect your water hose and adjust flow rate appropriately. Start the grinder at slow speed (maximum 3,500 RPM) and hold at a slight angle to begin the cut. Use light pressure initially to align the cut properly, then gradually increase to firm pressure while maintaining surface contact to prevent skipping.
As the cut establishes itself, align the grinder perpendicular to the stone surface and maintain firm, consistent pressure. Periodically lift the core bit to allow water to clean debris from the cut. Continue until breakthrough for a perfectly round, clean hole.
Rock Facing: Adding Handcrafted Character
Rock facing represents the artistic side of stone fabrication, using traditional hand tools to create unique shapes and textures that make hardscapes truly distinctive. While more labor-intensive than machine work, proper rock facing techniques produce results that showcase true craftsmanship.
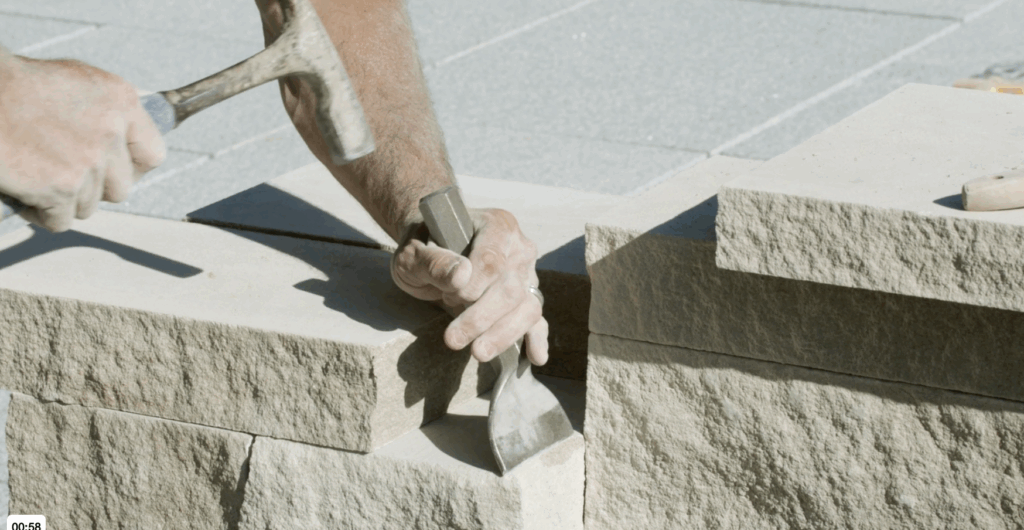
When working with rock face stone techniques on Indiana Limestone, begin by marking a line approximately ½ inch from the edge. Quality tools make significant difference in both ease of work and final results—carbide-tipped chisels like those manufactured by Trow & Holden (producing stone tools in Vermont since the 1800s) provide durability and performance professional work demands.
Place the chisel blade on your marked line at approximately 15 degrees, angled slightly outward toward the outside face. Strike firmly with a mallet, maintaining consistent angle and pressure. Work methodically down the stone’s length, ensuring the chisel sits straight on the line with each strike. This creates the characteristic textured edge that defines quality rock-faced stonework.
Professional Finishing Techniques
After cutting, some situations require matching factory finishes on exposed edges. Saw marks on granite or subtle swirl marks from factory processing can detract from professional appearance. Understanding finishing processes allows you to blend cuts seamlessly with existing stone surfaces.
Different stones require specific finishing approaches. Granite responds well to progressive diamond pad polishing, while limestone may need careful sanding with appropriate grits. The key lies in matching existing surface characteristics rather than creating something entirely new.
Tools That Make the Difference
Professional stone fabrication requires quality tools designed specifically for stone work. Generic tools may appear similar but lack the precision and durability serious stone work demands. Invest in diamond blades rated for your specific stone types, use wet cutting whenever possible to extend blade life and improve cut quality, and maintain your equipment properly for consistent performance.
Water management during cutting cannot be overstated—it prevents blade overheating, reduces dust, and significantly improves cut quality. Whether using built-in water systems or manual application, never compromise on cooling during stone fabrication.
Bringing Your Vision to Life
Working with natural stone combines technical skill with artistic vision. Each stone type offers unique characteristics that can enhance your design when properly understood and skillfully worked. The techniques covered here—from precision ripping to decorative rock facing—provide the foundation for creating hardscapes that stand apart through quality craftsmanship.
With practice and patience, these advanced fabrication techniques become second nature, allowing you to tackle increasingly complex projects with confidence. The investment in learning proper stone fabrication methods pays dividends through improved project quality, increased efficiency, and the satisfaction of working with materials that have been shaped by craftsmen for millennia.
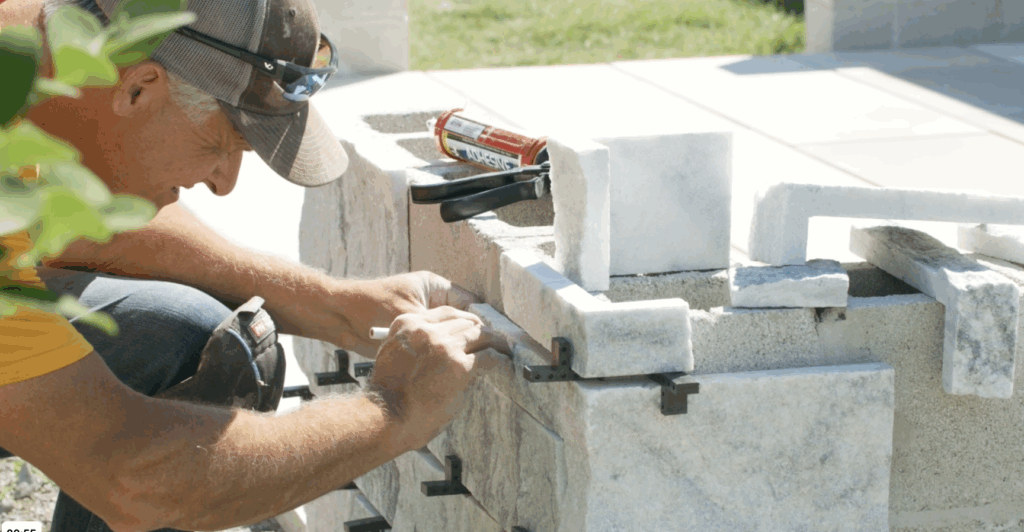
Mastering the Craft
Natural stone fabrication represents both craft and art. The right tools and techniques enable you to create stunning hardscapes that truly stand the test of time. Each project offers opportunities to refine your skills and push the boundaries of what’s possible with these remarkable natural materials.
Ready to take your stone fabrication skills to the next level? Start with quality materials from Polycor and invest time in mastering these fundamental techniques. Your projects will reflect the difference that professional-grade fabrication makes, creating outdoor spaces that showcase both natural beauty and skilled craftsmanship.
Whether you’re cutting precise miters, creating functional drip edges, or adding the personal touch of hand-chiseled textures, these techniques separate professional work from amateur attempts. Master them, and you’ll have the skills to turn any hardscaping vision into reality with natural stone


